Installation
Download addons.tar.gz from the ReDScribe GitHub releases page.
https://github.com/tkmfujise/ReDScribe/releases
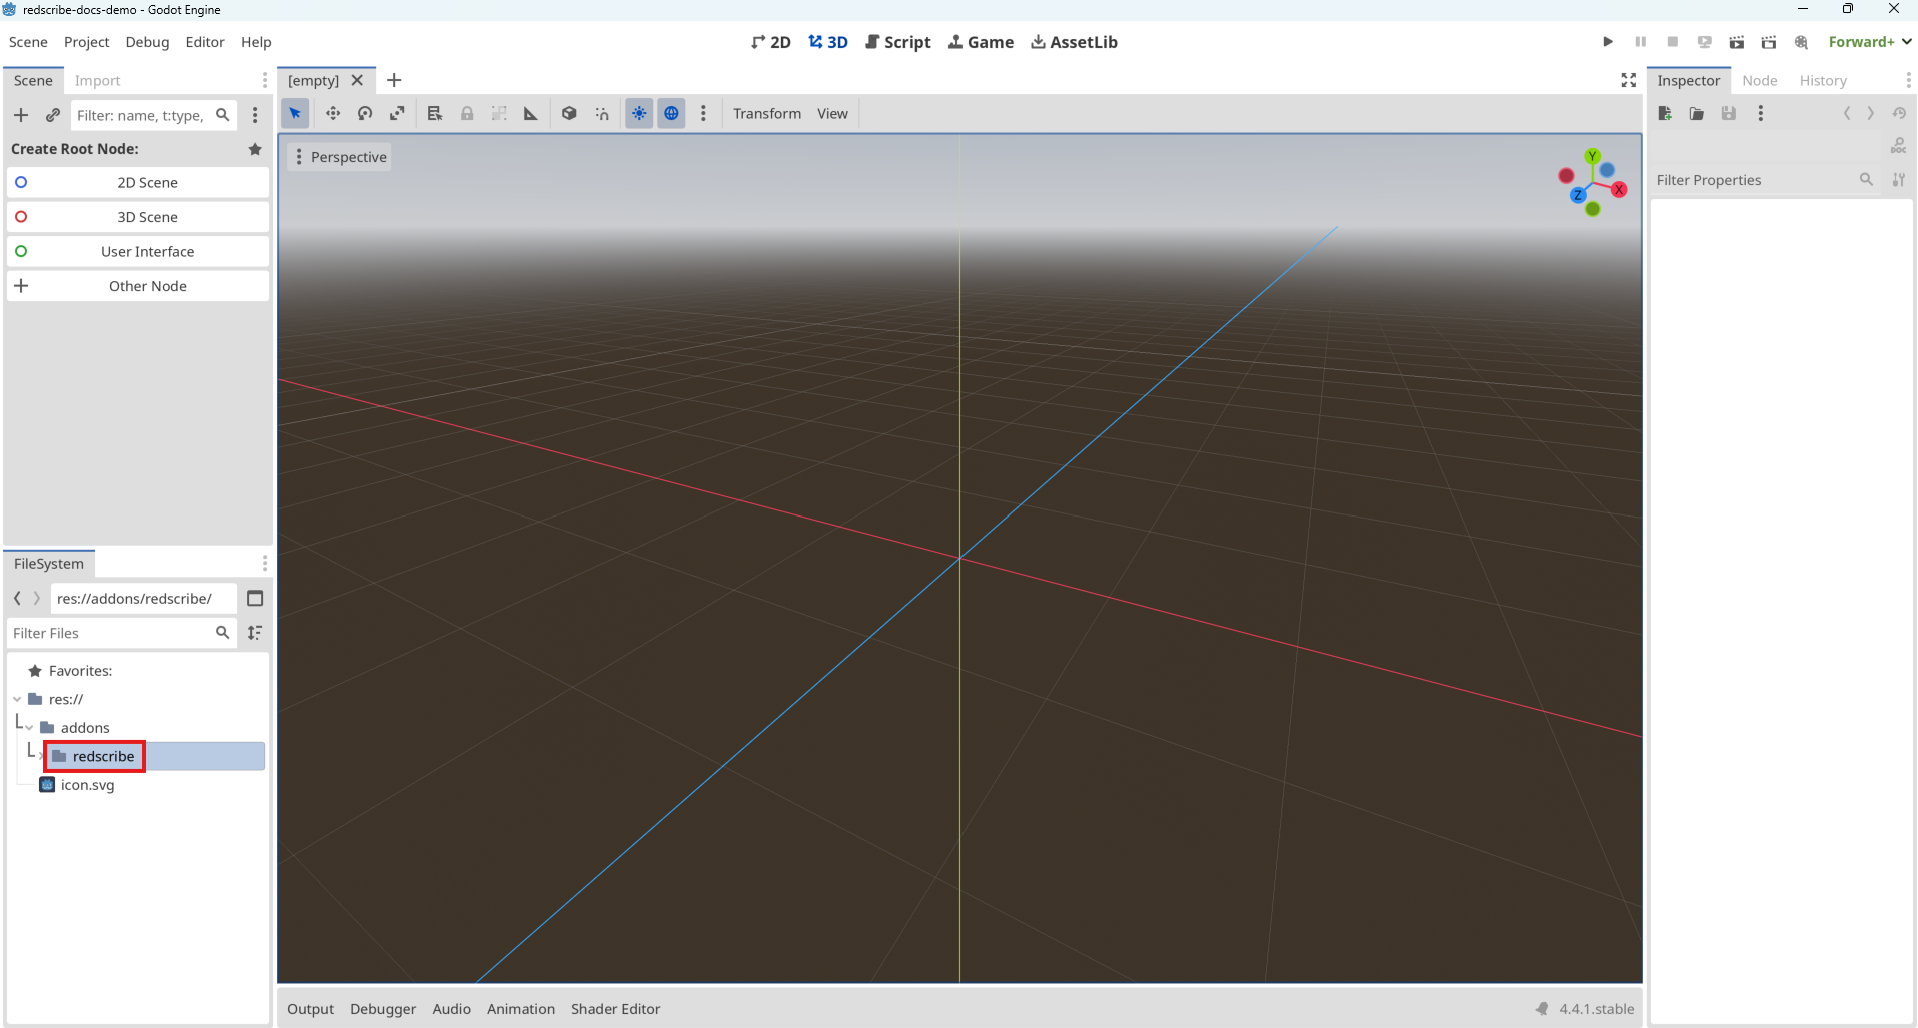
After extracting it, you'll find the redscribe folder inside the addons folders.
Put the redscribe folder into your addons directory in your Godot project.
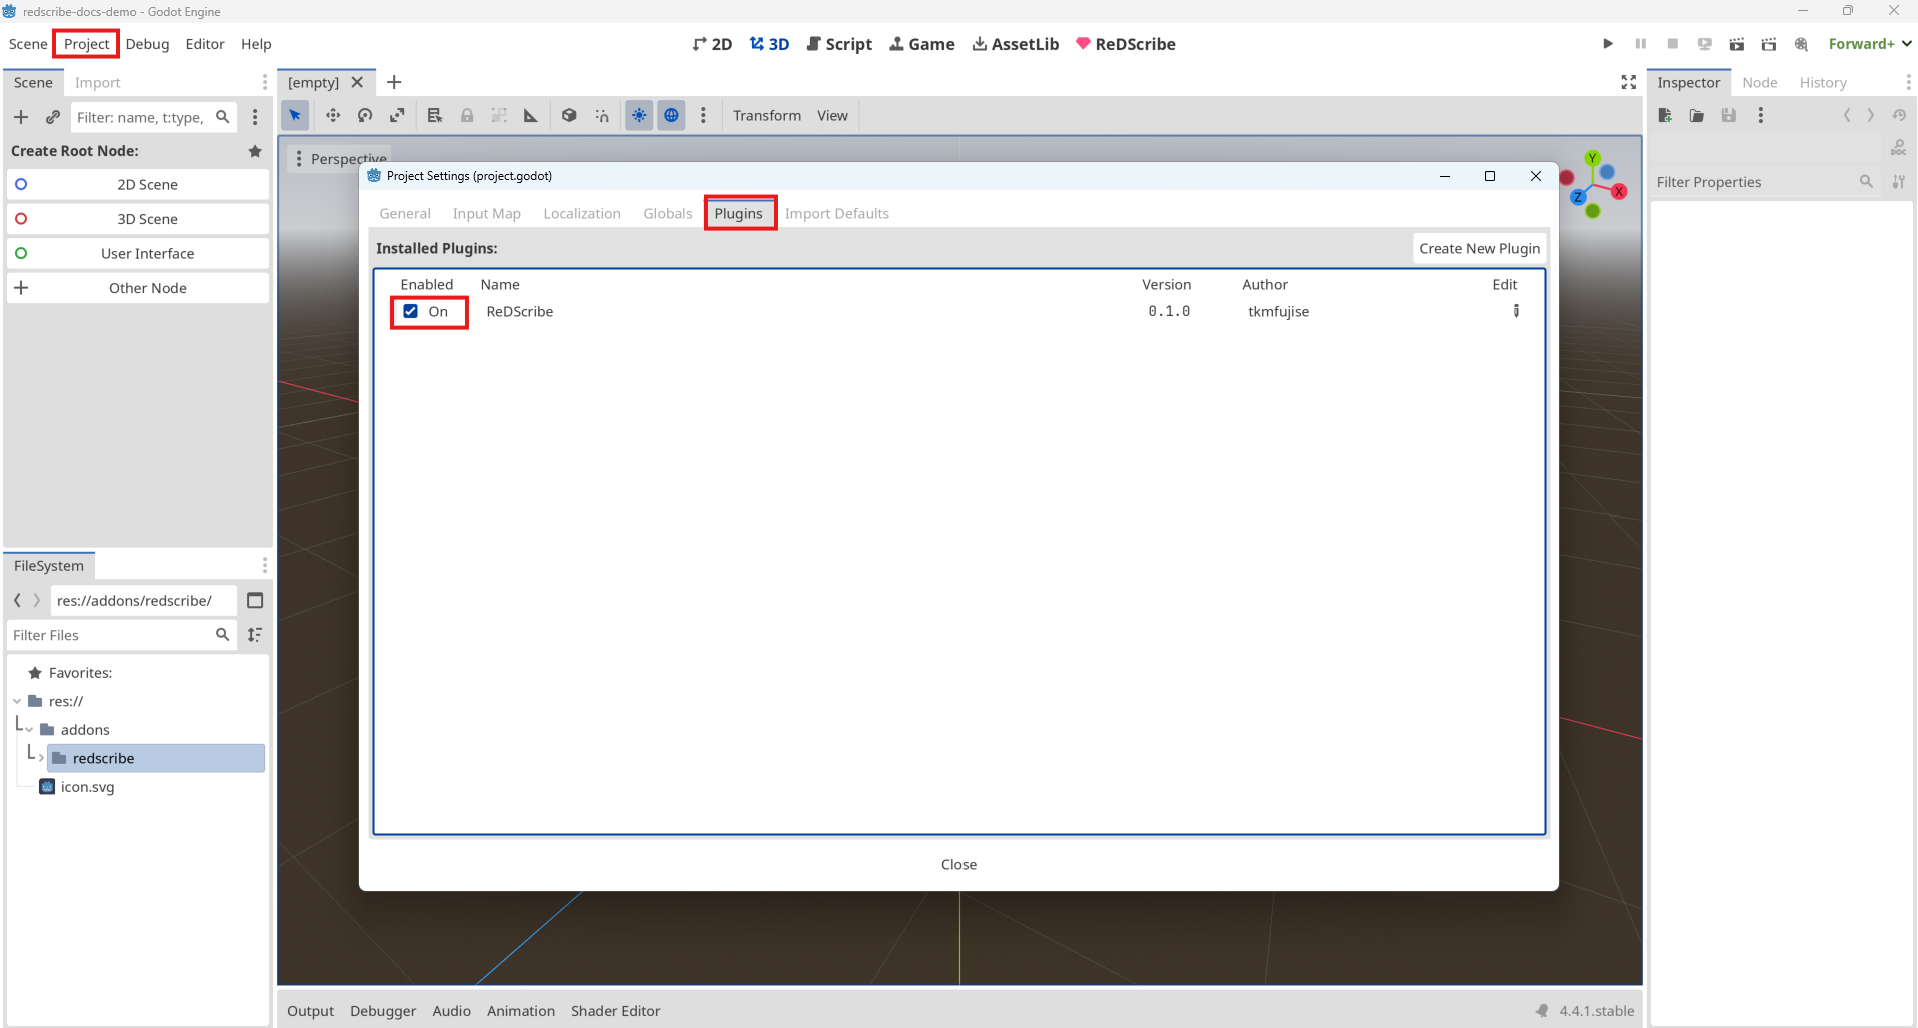
Open Project → Project Settings → Plugins, and enable ReDScribe.
After the ReDScribe plugin is enabled, a ReDScribe button will appear on the main screen.
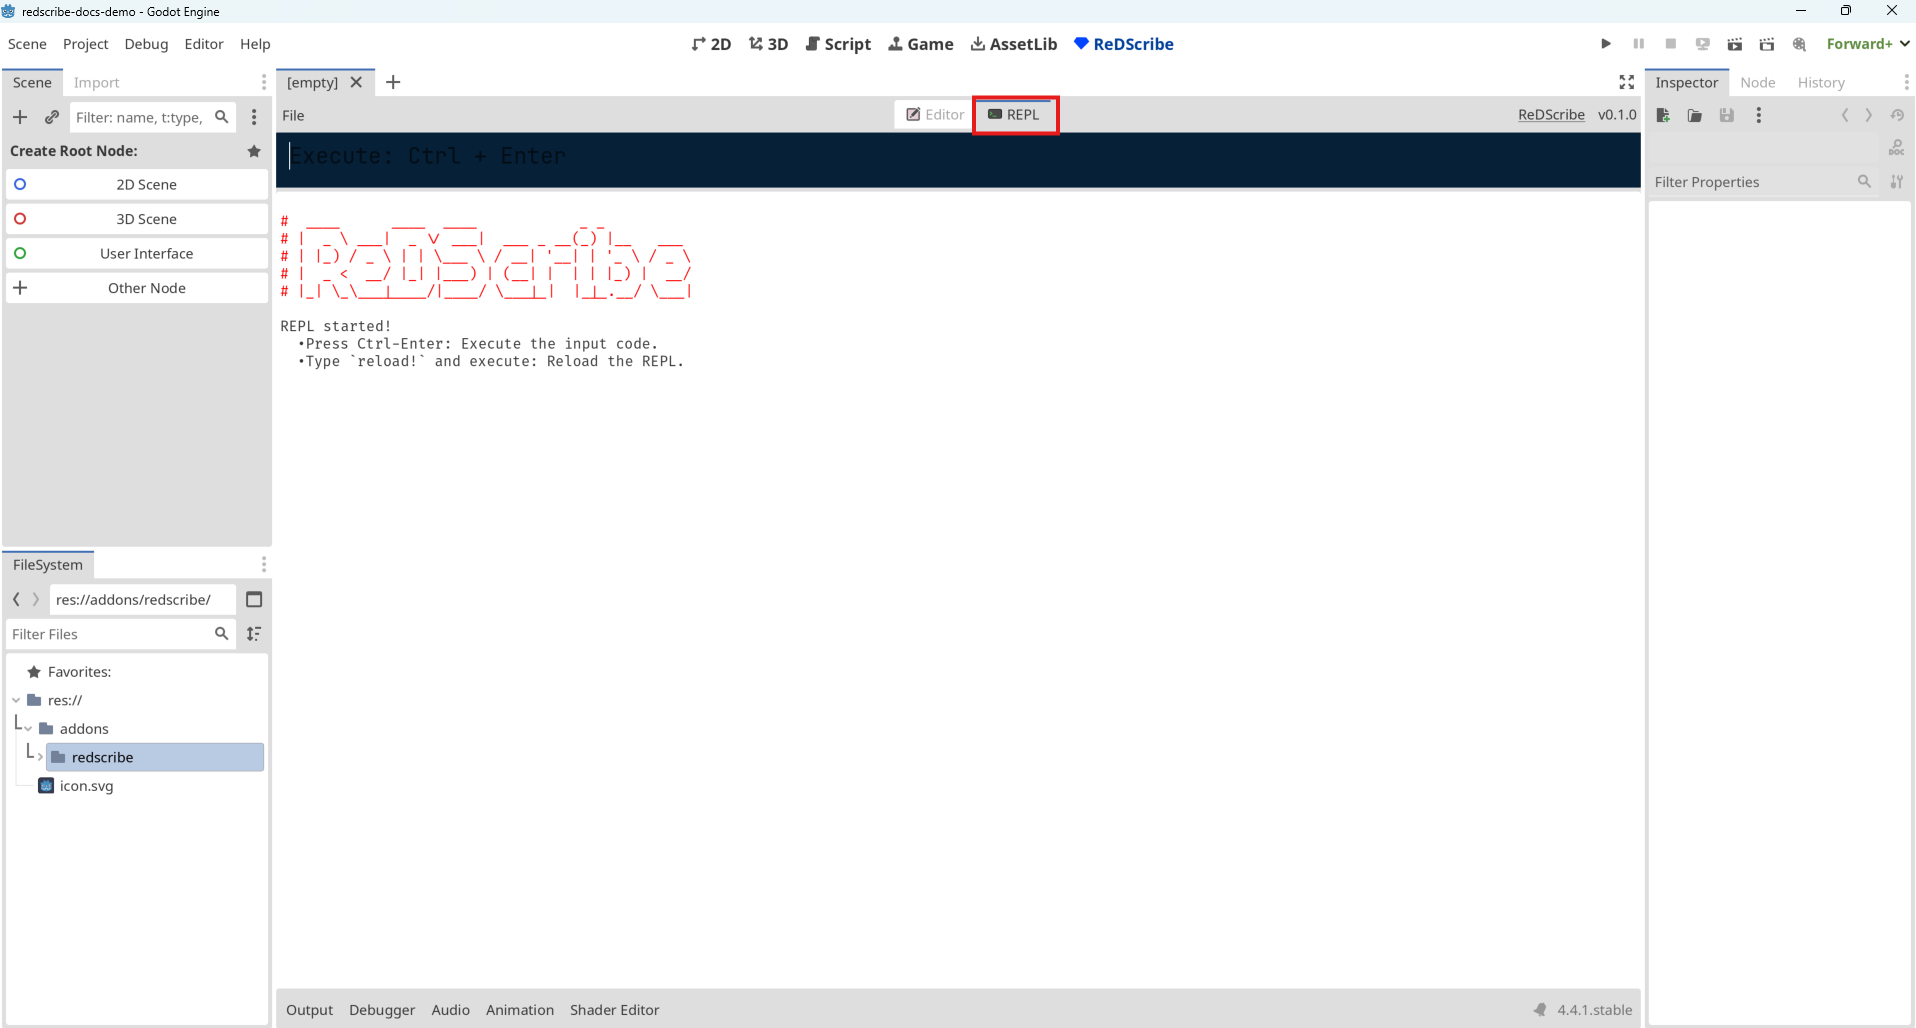
Click the ReDScribe button, and you'll see the Editor and REPL.
In the Editor, you can edit Ruby files.
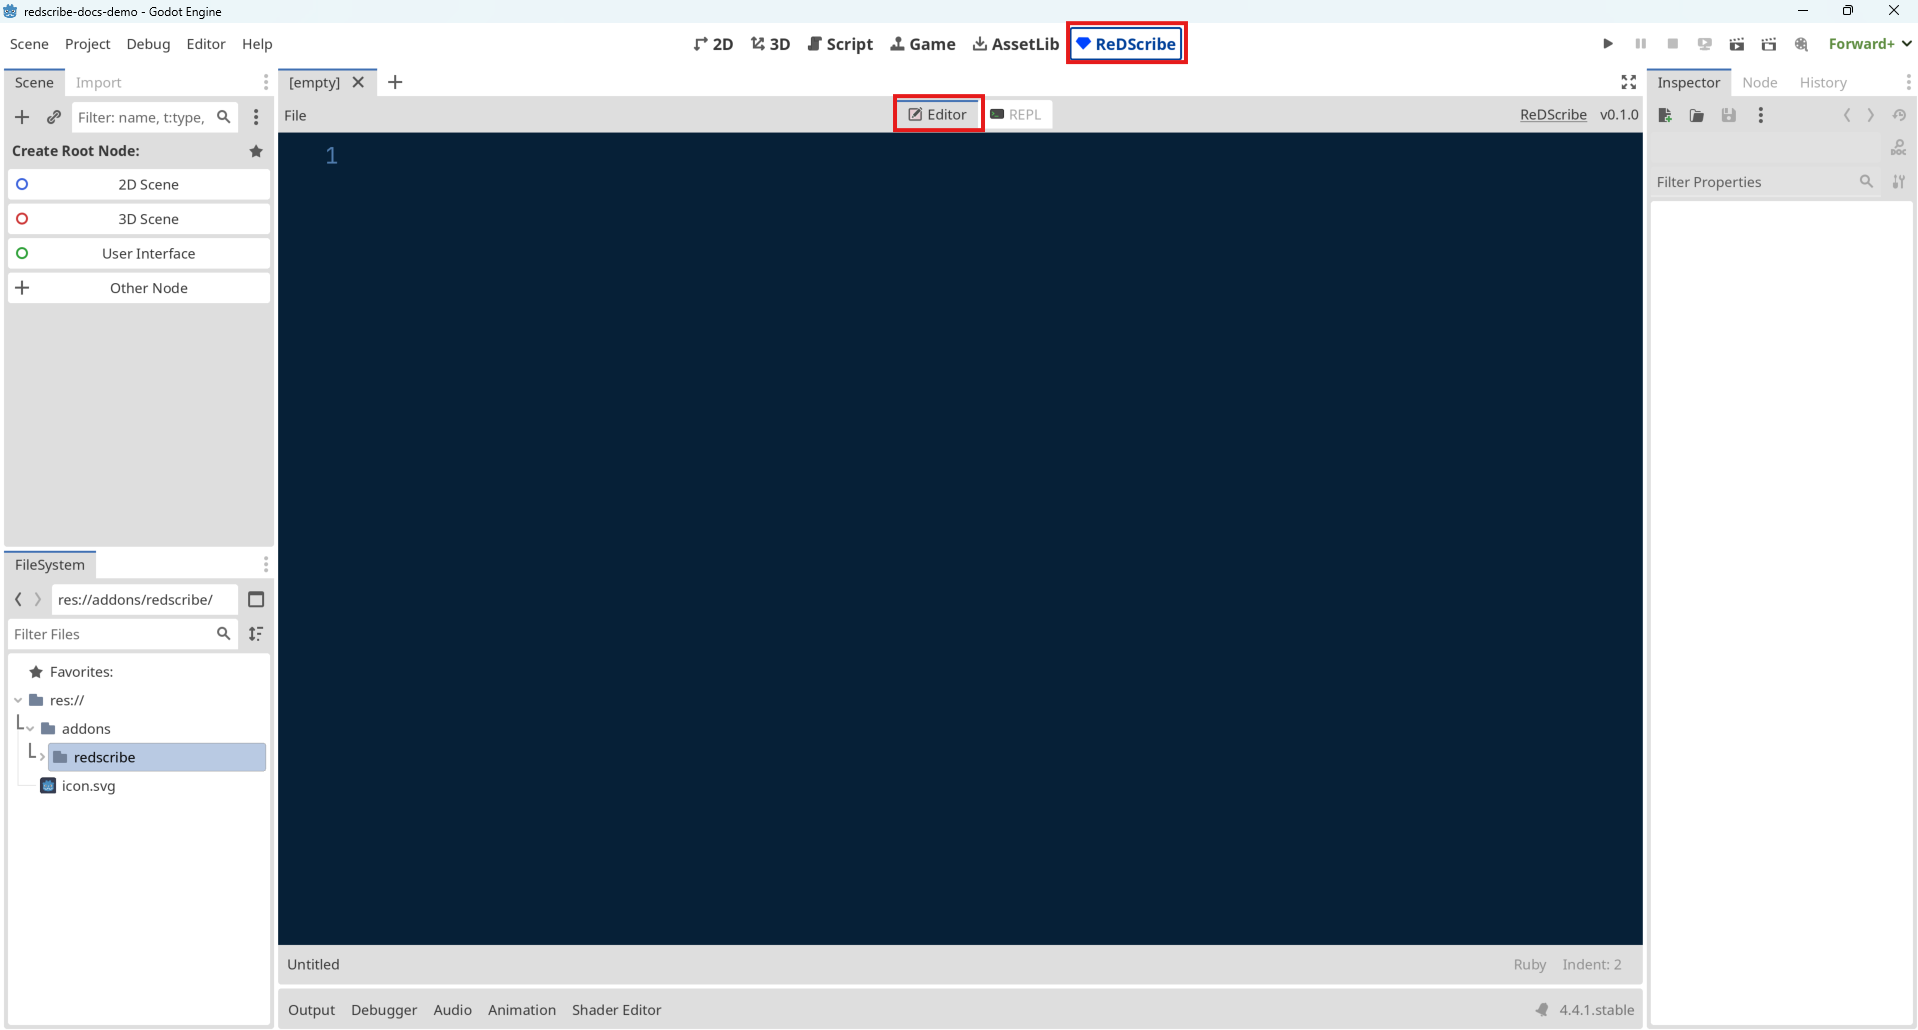
In the REPL, you can interactively try out Ruby code.
Right after adding the plugin, you might see the following error. Restarting the Godot project will resolve it.
ERROR: res://addons/redscribe/ext/redscribe_entry_loader.gd:24 - Parse Error: Identifier "ReDScribeEntry" not declared in the current scope.
ERROR: modules/gdscript/gdscript.cpp:3022 - Failed to load script "res://addons/redscribe/ext/redscribe_entry_loader.gd" with error "Parse error".
ERROR: Failed to add a custom resource loader, script 'res://addons/redscribe/ext/redscribe_entry_loader.gd' does not inherit 'ResourceFormatLoader'.
You're now ready to start using ReDScribe.
In the next chapter, let's dive in and begin writing Ruby code with ReDScribe.